
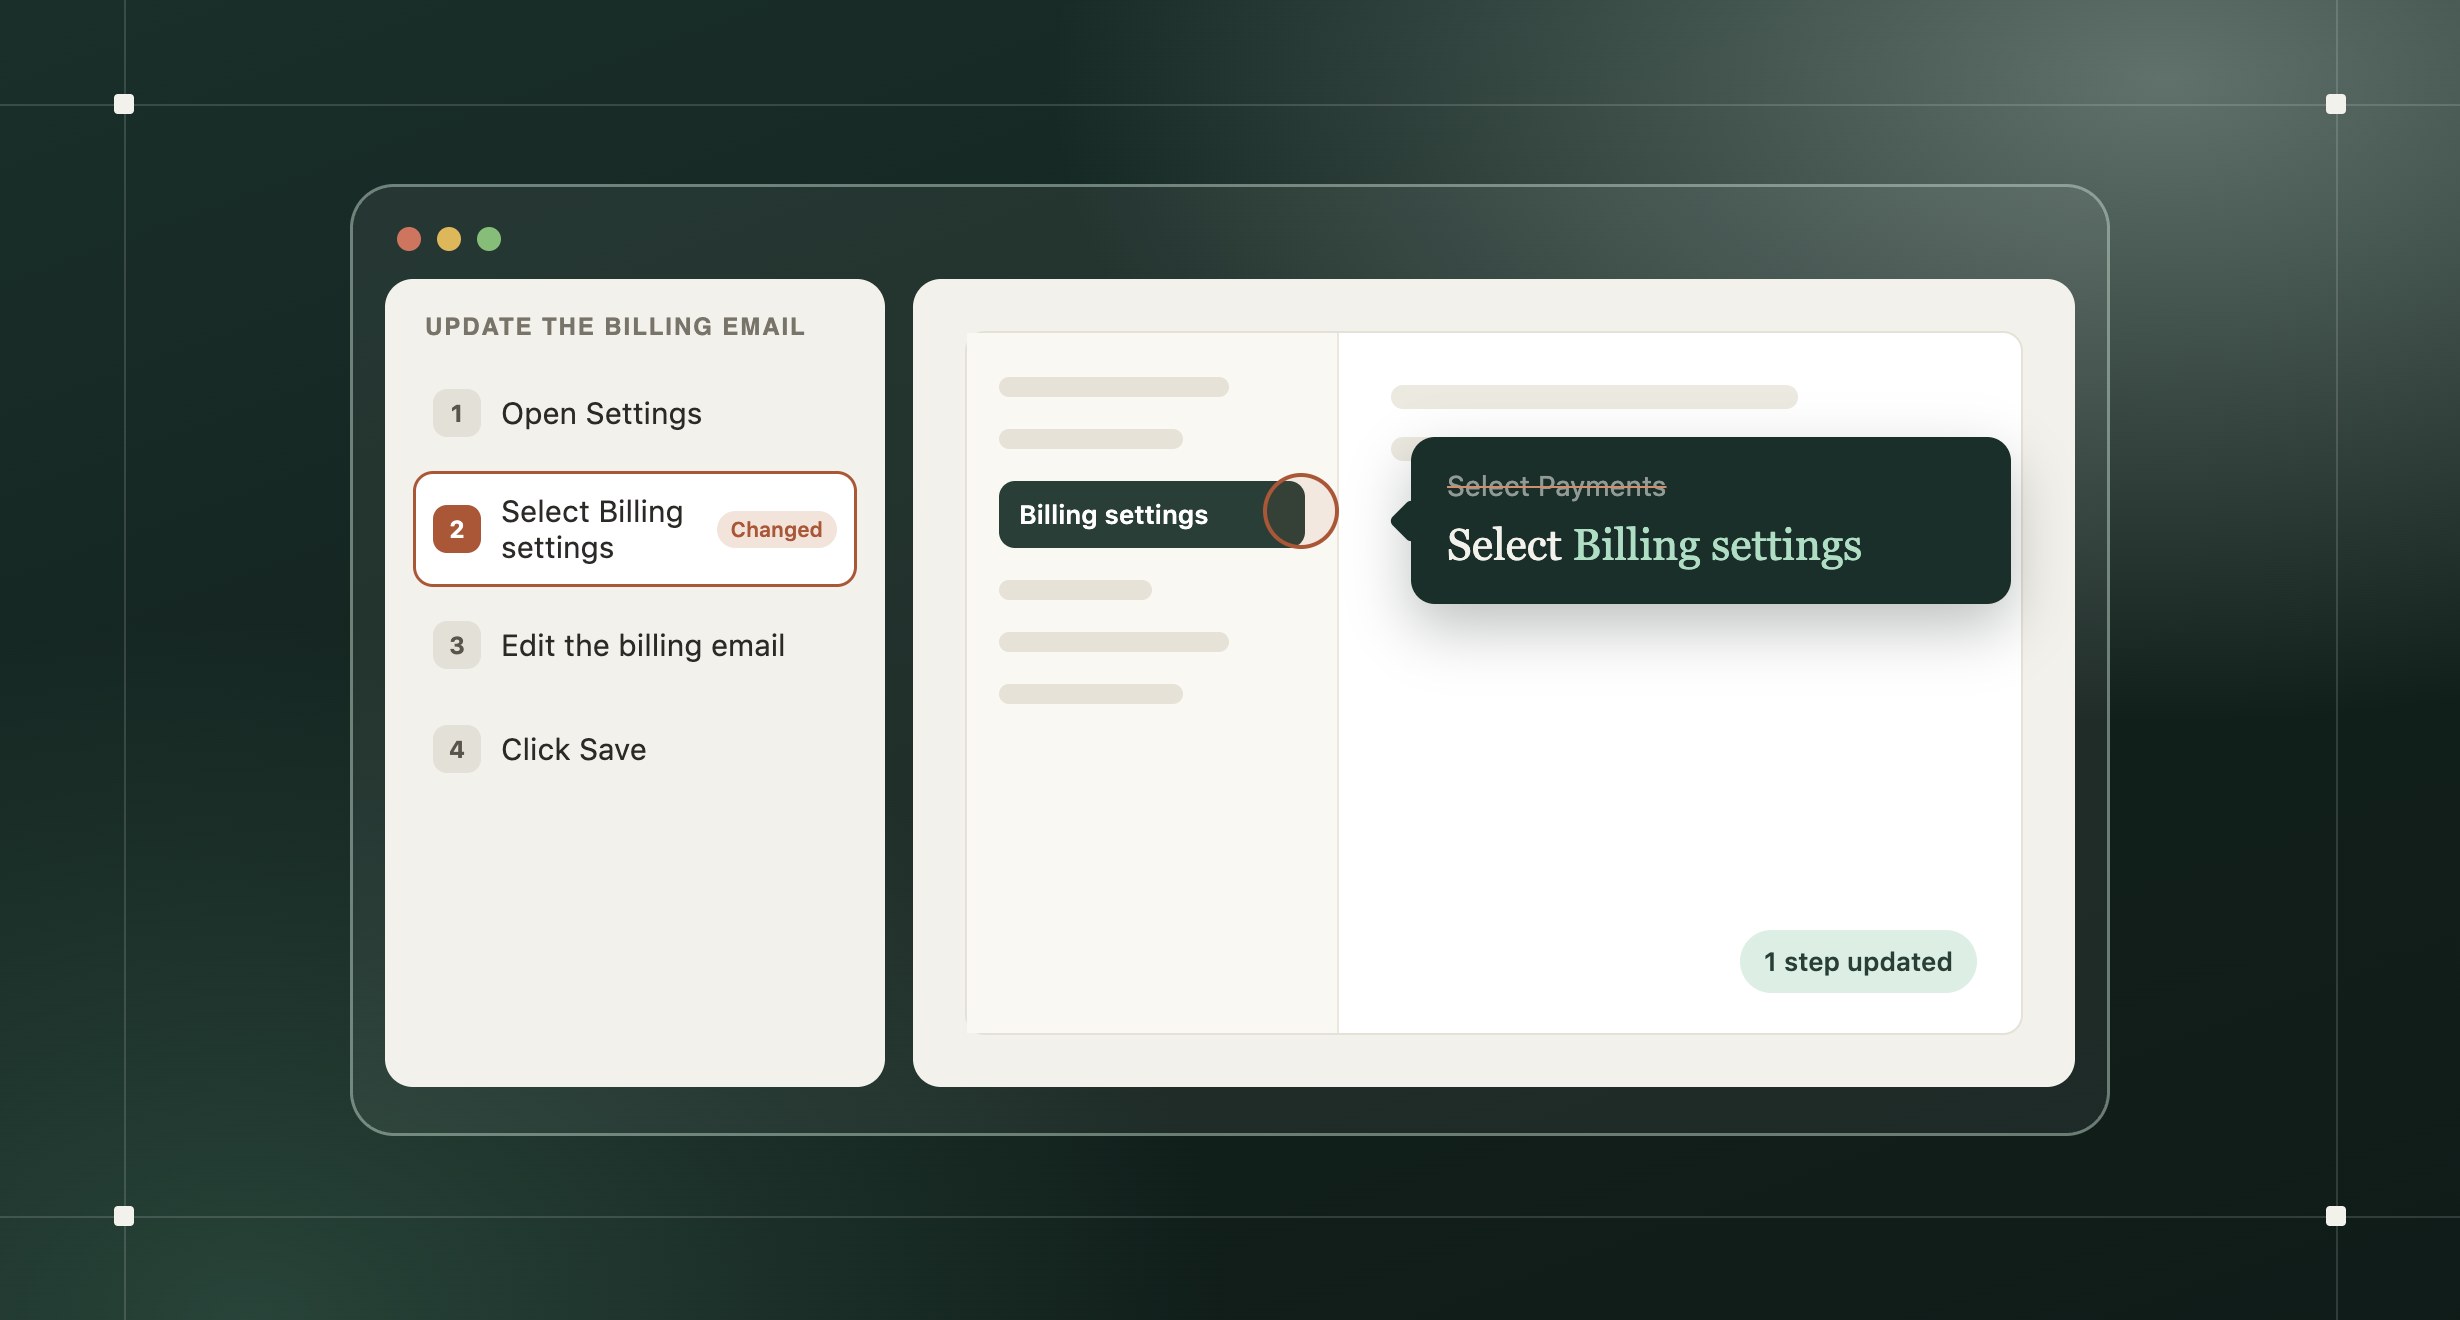
The short answer: Before a release ships, check what changed against a list of the screens your content shows. Edit the steps whose screens changed, re-record only when the order of the task changes, and fix your most-used content first.
Why one release breaks so much content
The same task usually lives in three places: a help article, an onboarding guide, and a training video. Rename one menu and all three are wrong at once, each in a different tool.
The fix itself is quick. The hard part is knowing what broke before a customer tells you.
How do you update help content after a release?
- Organize by task. Name each article, guide, or video for the job it explains, like "Reset a user's password," and give each task one owner.
- Keep a screen inventory. One row per task: the screens and labels it shows, where it lives, who owns it, and when someone last checked it.
- Check the release notes before the release ships. Search the inventory for every screen and label that changed. Each match goes on the update list.
- Fix what people use most first. Sort the list by views, or by the support tickets each piece answers.
- Edit in place. Publish the fix at the same link, so support macros and emails keep working.
- Test, then log the date. Someone other than the editor follows the steps in the live product. Once a quarter, check the oldest rows for changes the release notes missed.
A spreadsheet is enough for the inventory. One row looks like this:
| Task | Screens it shows | Where it lives | Owner | Last checked |
|---|---|---|---|---|
| Reset a user's password | Settings, Users, Reset password dialog | Help center, onboarding email | Support lead | Nov 3 |
Should you edit or re-record?
Ask one question: does the task still happen in the same order? If it does, edit the steps that changed. If it doesn't, capture the task again.
| What changed | What to do |
|---|---|
| A label or button text | Edit the step text and replace the screenshot |
| A button moved, same flow | Replace that step's screenshot and move its callout |
| A step was added or removed | Add or remove that one step |
| Colors or spacing only | Leave it until the next sweep |
| The order of the task | Capture the task again |
| The feature is gone | Retire the content and redirect its link |
Screen recordings are the exception. You can't edit one step of a recorded video, so you re-record the changed part and fix the narration around it. That's why short, one-task videos are cheaper to keep current.
How do you make the next update easier?
- Crop screenshots tightly. A crop of one dialog survives a redesign of the sidebar.
- Name the label in the step. "Select Billing settings" is easy to search for when that label changes.
- Keep fewer copies. Three formats in three tools means three fixes for one change.
Where Layerpath fits
Layerpath turns screenshots, a recording, or a Loom link into one project that people can click through as a walkthrough, read as a step-by-step guide, or watch as a video. The walkthrough and the guide share the same steps, so you fix a step once:
- In the editor. Add a step from the new screenshot, hide the old one, and edit the callout. Regenerate that step's voiceover if it has one.
- By asking Agent. Select the step, turn off Apply to all steps, and type the change, like "Change Payments to Billing settings." See Edit with Agent.
- Where you already work. Layerpath Agent also works in Slack, ChatGPT, and Claude, and through MCP. What it can edit varies by app.
Video exports and guide PDFs are files, so export them again after you edit. Layerpath doesn't spot changes in your software for you. Your team still decides what changed and reviews each walkthrough before sharing it.
Interactive Layerpath walkthrough: How to create a deal in HubSpot. A HubSpot task as a Layerpath walkthrough. Its step-by-step guide comes from the same steps.
- Click Add deal to start creating a new sales opportunity
- Enter a descriptive name for your new sales deal
- Select the appropriate pipeline to track this deal's progress
- Set the initial stage for your new sales deal
- Assign a deal owner to manage this sales opportunity
- Categorize the opportunity by selecting a deal type
- Set the priority level to highlight urgent sales opportunities
- Click Create to add the deal to your pipeline
Frequently asked questions
How do you update screenshots in a help center after a UI change?
Search the help center for the old label, replace each screenshot where it shows, and crop the new ones to the part the step is about.
How often should you review help content?
Check every release against your inventory before it ships. Then sweep the oldest and most-viewed content once a quarter.
Do you need to re-record a training video when one button moves?
Not if the task still happens in the same order. Re-record only that part, or, with a tool that builds the video from editable steps, update the step and export again.
Can AI update help content automatically?
Scripts can capture new screenshots, and AI can draft new step text. Treat both as drafts, and check them in the live product before you publish.